Your iPhone already has everything you need to make PDF files — no downloads, no subscriptions. Most people never find these built-in features hidden inside iOS, but once you know where to look, creating PDFs becomes second nature. Whether you're archiving receipts, saving research articles, or scanning contracts, these five methods cover every scenario.
Method 1: The Print trick (the fastest way)
In this section, we'll show how to make a PDF on iPhone using a feature you've probably used without realizing its hidden power: Print Preview. This works with any app that has a Share icon — Messages, Mail, Safari, Photos, even third-party apps. The trick lies in a simple pinch gesture that transforms any preview into a full PDF document.
Here's how to create PDFs on iPhone using this method:
- Open the content you want to convert (email, webpage, text message, photo).
- Tap the Share icon (the square with an upward arrow).
- Scroll down and select Print.
- When the preview thumbnail appears, use two fingers to pinch outward on it — exactly like zooming into a photo.
- The preview expands into a full PDF document.
- Tap the Share icon again in the top-right corner.
- Choose Save to Files or share the PDF directly via email or messaging.
This method excels when you need instant captures of screens, conversations, or single-page content. The PDF preserves the exact layout you see on your display, making it perfect for receipts, confirmation emails, or quick references. The Print Preview trick works system-wide across iOS, which means you can convert virtually any shareable content into PDF format without remembering which apps support export. Once the file is saved, tools like PDF converter handle everything iOS can't — editing, compressing, or changing the format.
Method 2: Convert photos to PDF on your iPhone
Converting images to PDF format happens directly in the Files app, not the Photos app. This distinction matters because Files offers Quick Actions designed specifically for document conversion. You can transform a single photo or merge multiple images into one multi-page PDF file on iPhone.
Single photo to PDF
When you need to turn one image into a PDF file:
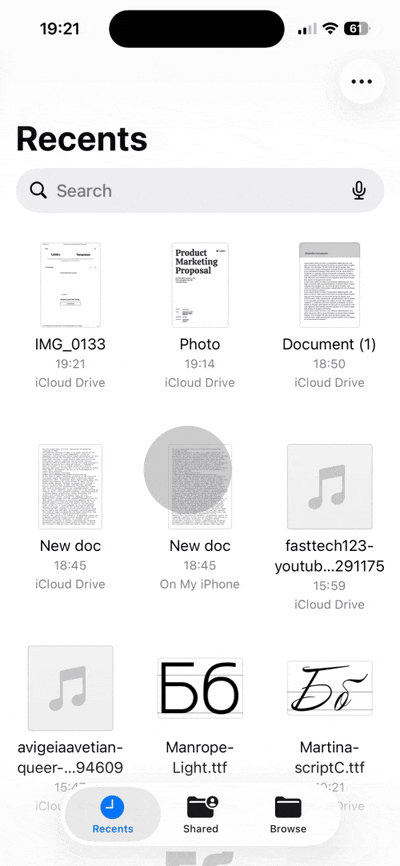
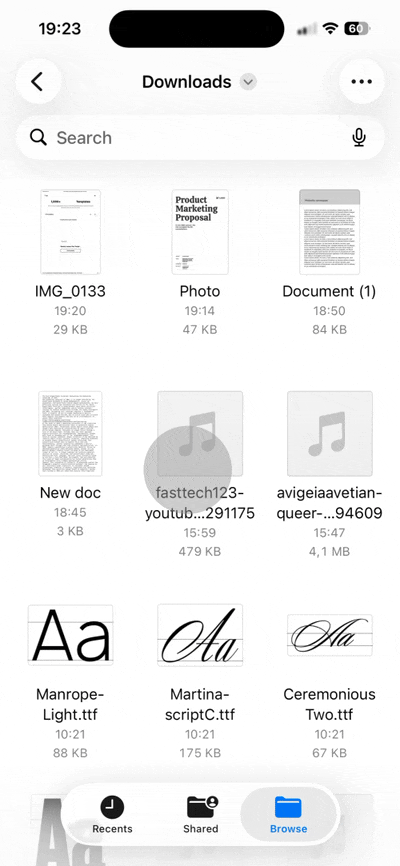
- Open the Files app and navigate to where your photo is stored (iCloud Drive, On My iPhone, or a recent folder).
- Long-press on the image until a menu appears.
- Select Quick Actions from the menu.
- Tap Create PDF.
- The PDF saves automatically in the same folder as your original image.
This method shines for converting receipts, screenshots, or single-page forms that you need in PDF format. The conversion preserves image quality while packaging it in a universally compatible document format.
Multiple photos to PDF
Here a step-by-step instruction to creating PDFs on iPhone from multiple images at once:
- Open the Files app.
- Tap Select in the top-right corner.
- Choose all the photos you want to combine (they'll appear in the order you select them).
- Tap the three-dot menu icon.
- Select Create PDF.
- All selected images merge into a single multi-page PDF document.
This approach works perfectly when you need to compile photo series into reports, presentations, or sequential documents. The page order follows your selection sequence, so choose carefully if order matters. Unlike taking individual PDF snapshots, this creates one cohesive file that's easier to share and organize.
Method 3: Save web pages as PDF from Safari
Safari offers two distinct approaches for saving webpages as PDFs. The standard method captures everything on the page, while the Reader View technique strips away ads and clutter first — producing a cleaner, more readable document.
For a basic full-page capture:
- Open the webpage in Safari.
- Tap the Share icon.
- Select Options at the top of the Share Sheet.
- Choose Full Page.
- Tap Save to Files and select your destination folder.
This preserves the complete layout, including navigation menus, sidebars, and advertisements. It's useful when you need an exact visual record of a webpage.
Save a cleaner PDF with Safari Reader View
The recommended method for make PDFs with iPhone in Safari uses Reader View first:
- Open the article or webpage in Safari.
- Tap the "AA" icon in the address bar (left side on most iPhones).
- Select Show Reader View from the menu.
- Once the page reformats into a clean reading layout, tap the Share icon.
- Select Options, then choose PDF.
- Tap Save to Files.
Reader View eliminates distractions before creating the PDF, resulting in documents optimized for actual reading. This makes archived articles, recipes, and research pieces far more usable offline. Both methods let you make PDFs on iPhone free of charge — no subscriptions or third-party tools required.
Method 4: Scan documents to PDF with the Notes app
Taking a regular photo of a document works, but scanning through the Notes app produces professional-grade results. The built-in scanner automatically detects edges, corrects perspective distortion, and enhances text contrast — all in real time as you capture the page.
Here's how to scan and create PDFs on iPhone:
- Open the Notes app and create a new note (or open an existing one).
- Tap the camera icon above the keyboard.
- Select Scan Documents from the menu.
- Hold your iPhone camera over the physical document — the scanner detects the page automatically and captures it (you can also tap the shutter button manually).
- Adjust the corner handles if the auto-detection missed any edges, then tap Keep Scan.
- Add more pages by repeating the process, or tap Save when finished.
- Long-press the scanned image thumbnail in your note.
- Tap Share, then select Save to Files to export as PDF.
Tips for better scans and PDF quality
This method outperforms regular photos because of its intelligent processing. The scanner crops out background surfaces, straightens tilted pages, and applies filters that make text crisper and more legible. Use the color filter for documents with images or charts, and switch to black-and-white for text-heavy contracts or forms to reduce file size.
Physical receipts, signed agreements, business cards, and handwritten notes all benefit from this treatment. The resulting PDF looks clean and professional — far better than a casual snapshot.
Troubleshooting: Why can't I create a PDF file on iPhone?
The most common problem preventing PDF creation isn't your iPhone — it's restrictions built into the source file itself. If you receive a PDF via email or download and can't edit, copy text, or print it, the document likely has password protection or permission restrictions applied by its creator.
Symptoms of a restricted PDF include disabled Share options, grayed-out print commands, or messages saying the file is locked. These limitations don't come from iOS; they're embedded in the PDF file format by whoever created or secured the document.
To work with restricted PDFs, you need to unlock the PDF first — it takes seconds in your browser without desktop software. Once unlocked, you can proceed with any of the creation methods above.
Quick fixes for common PDF issues on iPhone
If restrictions aren't the issue, the problem is usually one of these:
- Can't find saved PDFs: Open the Files app and search by filename, or check the Recently Deleted folder.
- No Share option appearing: Update iOS to the latest version — older builds sometimes hide Share Sheet options.
- Storage full error: Check iPhone storage in Settings > General > iPhone Storage and clear space if needed.
Most PDF creation problems trace back to source restrictions or storage limits rather than the methods themselves. Once you identify which applies, the solution becomes straightforward. Your iPhone gives you the tools to make a PDF on iPhone from virtually any content — you just need to know which iOS feature handles each scenario best.